Propagation for Beginners: Rooting Cuttings in Water vs Compost
A glass of water on a windowsill, a few leaves above the rim, and a hopeful wait. That is how many of us start propagating, and it works often enough to be encouraging. It is also only half the story. Plenty of cuttings sulk, go soft, or root so weakly that they collapse the moment they meet compost. The difference usually comes down to which method suits the plant in front of you.
Water roots and soil roots are not the same thing
A root grown in water is built for water. It tends to be finer, paler and more brittle than the roots a plant makes in compost, without the protective outer tissue that copes with air pockets and soil life. That is why a cutting with a beautiful tangle of water roots can flop after potting. It is not failing; it is rebuilding.
Understanding this changes how you handle both methods. Water propagation is a fast, low-cost way to multiply easy plants. Compost propagation asks a little more of you and produces a plant that barely notices the move.
Plants that root happily in water
Soft, sappy, fast-growing plants are the natural candidates. Many will root in a glass of tap water on a kitchen windowsill with almost no intervention.
- Pothos and heartleaf philodendron, which root at almost any node
- Tradescantia and other trailing houseplants
- Spider plant plantlets, which arrive with roots already formed
- Coleus, impatiens and fuchsia cuttings taken in late summer
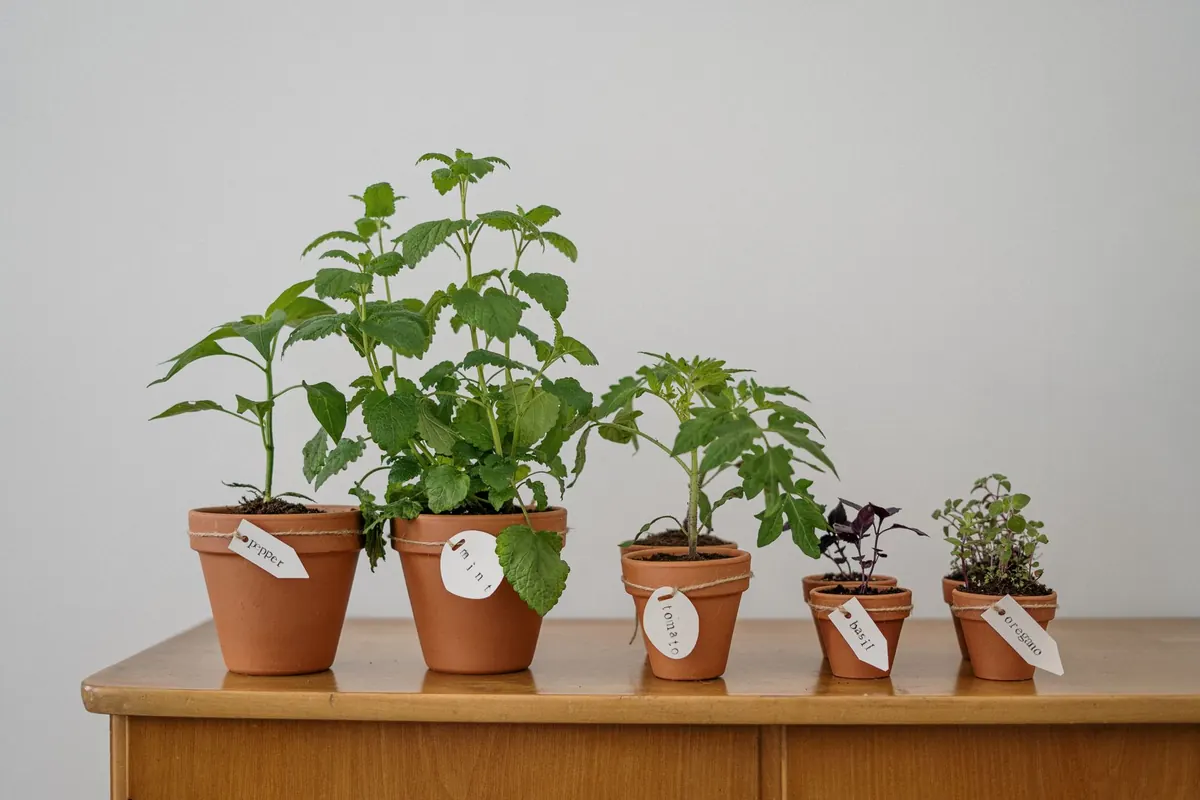
- Mint, basil and lemon balm — take the top 10cm and strip the lower leaves
- Willow, which will root in a bucket given half a chance
- Begonia and African violet leaf cuttings, though these need patience
For most of these, a cutting of 8–12cm is plenty. Cut just below a node, which is where the roots will break, remove the bottom leaves so nothing sits underwater, and change the water every few days.
Which plants prefer compost
Woody herbs and shrubs generally do better in a moist, airy growing medium. Rosemary, lavender, sage and thyme all root far more reliably in a gritty mix than in a jar; in water their stems tend to blacken before roots appear. The same applies to pelargoniums, which are prone to mushy stems when submerged.
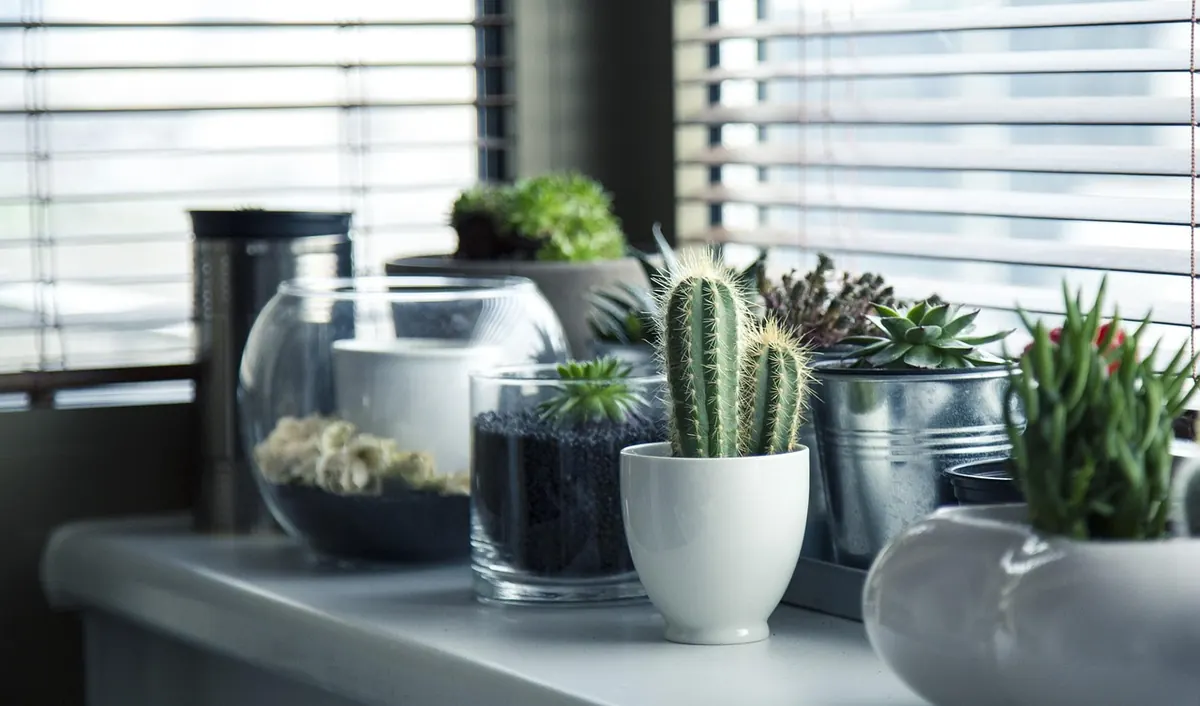
Succulents and cacti should never go in water at all. Their tissue is designed to store moisture, so a submerged cut end will rot rather than root. For these, let the cut surface callus over for a day or two, then settle them into a very free-draining mix and keep them on the dry side.
How to root cuttings in compost
The method is simple, but the details matter, especially in the first fortnight.
- Fill small pots — 7cm is ideal — with multipurpose compost mixed with about a quarter perlite or horticultural grit. Fresh seed compost also works well.
- Water the compost and let it drain before you insert anything. A pot that is soaking wet is the quickest route to rot.
- Prepare the cutting: cut below a node, remove the lower leaves, and dip the base in rooting hormone if you have some. It helps with tricky subjects; it is not essential for mint.
- Make a hole with a pencil, drop the cutting in, and firm the compost around the stem so it stands upright.
- Cover with a clear plastic bag or a propagator lid to hold humidity, but leave a small gap for air.
- Keep it warm, bright and out of direct sun. Check after a week and water only if the surface is starting to dry.
- Resist tugging. After two or three weeks, a gentle pull will meet resistance once roots have formed.
Keeping rot at bay
Rot is the main risk in both methods, and it almost always comes from the same few causes: too much water, too little air, or a cutting that was struggling before it started.
- Use clean tools and a clean jar or pot.
- Change water every few days; cloudy water is a warning.
- Keep leaves and leaf nodes out of the water. Only the stem goes under.
- Remove any cutting that goes brown or soft at once. It will not recover, and it spoils the water for the rest.
- Cut with sharp secateurs from a healthy, non-flowering shoot. Soft growth taken in spring or early summer roots fastest.
- Skip rooting hormone in water. It washes off and can encourage the bacterial growth that starts rot.
If you use tap water, leaving it to stand overnight does no harm and is a habit many gardeners keep. An opaque jar, or a jam jar slipped inside a paper bag, also cuts down on algae — harmless in itself, but it makes it hard to see what is happening.
Moving a water-rooted cutting into compost
Wait until roots are 3–5cm long. Longer is not better: roots that have grown for weeks in water become fragile and resent the change. Pot into a small pot of moist, airy compost, water once to settle it, and keep the plant out of strong sun for a week or so.
The compost should stay slightly damp — not soaked — for the first fortnight while the plant produces roots suited to soil. Some drooping on day two is normal. If the whole cutting collapses within a day, the roots were probably too far advanced; take a fresh cutting and try again.
Start with one cutting this week
Pick a plant you already have and take three cuttings rather than one. Try a pothos or a tradescantia in water on the windowsill, and a rosemary or pelargonium in a small pot of gritty compost somewhere warm and bright. Label them with the date.
Expect a few failures. Every gardener has them, and they cost you nothing but a stem. Within a month you will have a clear sense of which method suits your plants, your windowsill and your own patience, and everything after that gets easier.
You Might Also Like
A practical checklist for organising a neighbourhood cutting and seed swap, covering format, venue, plant health rules, labelling, how to run the day, and the follow-up that keeps people coming back.
A step-by-step guide to bringing outdoor plants inside before the first frost, cutting back on water and feed, and keeping tender species healthy through a UK winter.